
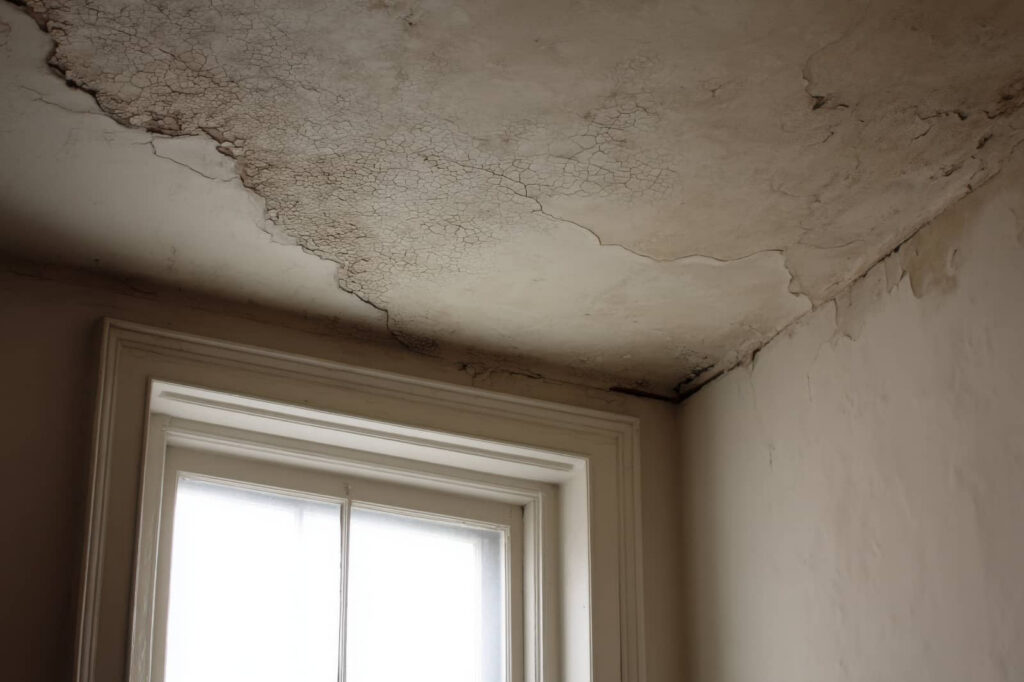
Leaks and Stains can be signs of hidden problems, as a ceiling stain often hides active moisture long after the spot looks dry. You need to stop the leak fast, then check for wet drywall, soaked insulation, and weakened framing before you patch anything. Careful drying, stain blocking, and repairs can restore the surface, but the real risk is what you can’t see yet.
Key Takeaways
- Stop the leak source safely, move valuables away, and protect remaining items from dripping water.
- Trace the leak origin by checking nearby bathrooms, kitchens, laundry areas, and attic plumbing.
- Dry the ceiling quickly with fans, dehumidifiers, and airflow to prevent mold and further damage.
- Repair damaged drywall by removing loose material, sealing stains, and patching cracks or sagging areas.
- Call a professional if moisture, odors, or soft spots persist, since hidden damage may require specialized detection.
Stop the Leak and Protect the Room
Before you do anything else, stop the source of the leak if you can do so safely, then protect the room from further damage.
In ceiling water damage restoration, you’ll limit spread by moving furniture, electronics, and rugs away from the wet area.
Place buckets or pans under active drips, and spread plastic sheeting or tarps over belongings that can’t be moved.
If water has pooled in a ceiling fixture, cut power to that circuit at the breaker and keep clear of the area.
Ventilate the room by opening windows and running fans if electricity is safe to use.
Take a few photos for records, then keep everyone out of the affected space.
You’re handling the first critical step well, and that calm action helps your home recover sooner.
Find the Source of Ceiling Water Damage
Now that the room is protected, you need to trace where the water is coming from so you can stop further damage. Start at the stain and work upward, because water often travels along framing before it shows below.
Check bathrooms, kitchens, laundry areas, and attic spaces above the ceiling. Look for active drips, rusted fasteners, loose supply lines, failed seals, damaged flashing, or condensation on cold pipes. Use a flashlight and note any wet edges, discoloration, or soft spots that point to the leak path.
If the source isn’t obvious, run fixtures one at a time and watch the ceiling response. You’re not guessing alone; you’re building a clear trail.
When you identify the source, mark it and arrange the repair promptly.
Dry Wet Drywall and Insulation
Dry the wet drywall and insulation as soon as the leak is stopped to limit swelling, sagging, and hidden mold growth.
You’ll protect the cavity by moving air across the surface, pulling humidity down, and checking moisture with a meter until readings stabilize.
If you can access the space safely, remove baseboard trim or small inspection openings so drying reaches trapped areas.
Replace soaked fiberglass insulation only if it won’t release moisture; dense, damp batts often hold water longer than you expect.
- A fan pushing dry air across a pale ceiling patch
- A dehumidifier humming beside an open access panel
- A moisture meter confirming steady, safe readings
You’re not alone here; careful drying now helps your home recover cleanly.
Repair Stains, Sagging, and Cracks
Once the ceiling is dry and readings stay stable, you can repair the visible damage with confidence.
Start by scraping loose paint, softened texture, and brittle paper from the stained area. Apply a stain-blocking primer to seal discoloration and give your finish coat a uniform base.
If drywall has sagged slightly, support it, fasten it back to framing, and add mesh tape over any seams. Fill cracks with setting compound, feather the edges, and sand lightly between coats.
For deeper damage, build thin layers rather than one heavy pass. Match the existing ceiling texture, then repaint the patched zone and nearby surface for even sheen.
With careful prep and patience, you’ll restore a clean, solid ceiling that feels right at home again.
Know When to Call a Pro
If you still see stains, soft drywall, or a musty odor after a leak, hidden moisture may remain inside the ceiling cavity.
You’ll need a pro when drying equipment, moisture meters, and controlled cleanup are required to prevent mold and structural damage.
A trained restoration team can verify the damage, dry the area fully, and restore the ceiling safely.
Hidden Moisture Signs
Even when a ceiling looks stable, hidden moisture can still spread behind the drywall and insulation. You might notice subtle cues before a stain grows: soft paint, a faint musty odor, or a cool patch that lingers after the leak stops. Those signs tell you water’s still present where you can’t see it.
Watch for these clues:
- A bubble under the paint, like a blister on a smooth white surface.
- A sagging seam, as if the ceiling is gently bowing under weight.
- Discolored rings, thin and brown, spreading like ripples after rain.
If you spot more than one sign, you’re not overreacting—you’re protecting your home and the people in it. Trust your instincts, document the area, and get a professional evaluation fast.
Professional Drying Needs
Professional drying becomes necessary when a ceiling leak has soaked insulation, spread beyond the visible stain, or caused drywall to sag, soften, or crumble.
You can’t safely judge hidden moisture by touch alone; pros use moisture meters, thermal imaging, and controlled air movement to map wet materials and prevent mold growth.
If water entered plaster, attic framing, or electrical runs, you’ll need specialized extraction and drying equipment to stabilize the structure.
Calling a restoration team early also helps you avoid costly demolition and protects the rest of your home.
You’re not overreacting when you ask for help; you’re choosing the same careful standard other homeowners use.
With the right drying plan, you can restore your ceiling cleanly, confidently, and on schedule.
Prevent Future Ceiling Leaks
To prevent future ceiling leaks, you should inspect the roof, plumbing, and attic regularly so small issues don’t turn into hidden moisture, stains, or sagging drywall.
Check flashing, shingles, supply lines, and drain pans after storms or seasonal changes. Keep gutters clear so water moves away from the structure, and make sure attic insulation stays dry and evenly placed.
If you spot condensation, warped wood, or a musty odor, act quickly and tighten the repair before damage spreads.
- A flashlight beam tracing damp joists in a quiet attic
- Clean gutters guiding rainwater away from your home
- Dry drywall beneath a sealed, intact roofline
These habits help you protect your space and stay confident that your home’s ceiling stays sound, dry, and ready for everyone under it.
Frequently Asked Questions
How Long Does Ceiling Water Damage Restoration Usually Take?
You’ll usually see ceiling water damage restoration take 1–5 days, but severe hidden moisture can extend it to a week or more. You can expect drying, repairs, and cleanup to follow inspection results.
Can I Paint Over a Water Stain Permanently?
No, you can’t paint over a water stain permanently. You’ll need to stop the leak, dry the area, seal the stain with primer, and repaint, or the discoloration and damage will likely return.
Is Ceiling Water Damage Covered by Homeowners Insurance?
Usually, yes, if you’ve got sudden, accidental damage; gradual leaks often aren’t covered. You should review your policy, document the stain, and contact your insurer quickly so you can protect your claim and repair costs.
How Do I Tell if Mold Is Hidden Behind the Ceiling?
You can’t sniff it out like a bloodhound, unfortunately; watch for musty odors, recurring stains, sagging drywall, or allergies. You’ll confirm hidden mold with a moisture meter, inspection hatch, or professional assessment.
When Should I Replace Ceiling Drywall Instead of Repair It?
You should replace ceiling drywall if it’s sagging, crumbling, swollen, or moldy, or if the damage spans a large area. You’ll restore safety and confidence faster when structural integrity or hidden moisture’s compromised.
Final Thoughts
By stopping the leak quickly, you give your ceiling the best chance to recover with minimal fuss. If you dry materials promptly, repair blemishes carefully, and watch for lingering moisture, you can restore a clean, stable finish. When conditions seem less than straightforward, call a pro to help with the hidden trouble spots. With routine inspections and prompt upkeep, you’ll keep future water issues in check and protect your home’s comfort for the long haul.